In this blogs, I will be going to show how to get started with the raspberry pi, its installation process and the how to access like the personal computer.
THings to be known before starting the practical project with raspberry pi.
- Basic use of a computer system and networking
- Understanding of Programming knowledge
You can find online source our youtube channels where you can learn this online. I will suggest visiting the tutorialspoint which free online learning platform for computer programming from fundaments of C to many other programming languages.
Also, you will also learn while doing the practice stuff so don't worry about the much details you will face while doing the stuff.
So let's get started with basic information about the raspberry pi board before getting into more details about the installation process.
This is a computer system build on a single circuit board with a microprocessor, memory bus and I/O devices and other peripherals function can be used as the personal desktop computer. This is a single board computer made for the educational and development system.
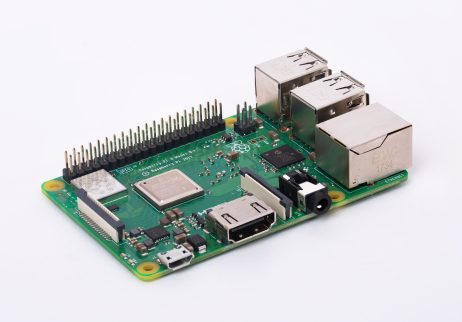
This small board computer developed by the Raspbian foundation and it has many version available used for educational purposes. I will be using Raspberry Pi 3 Model B + many which are the latest product in the available version of Pi.
Below is the configuration supported by this model.
- 1.4GHz 64-bit quad-core processor
- 1GB LPDDR2 SDRAM
- 2.4GHz and 5GHz IEEE 802.11.b/g/n/ac wireless LAN, Bluetooth 4.2, BLE
- Gigabit Ethernet over USB 2.0
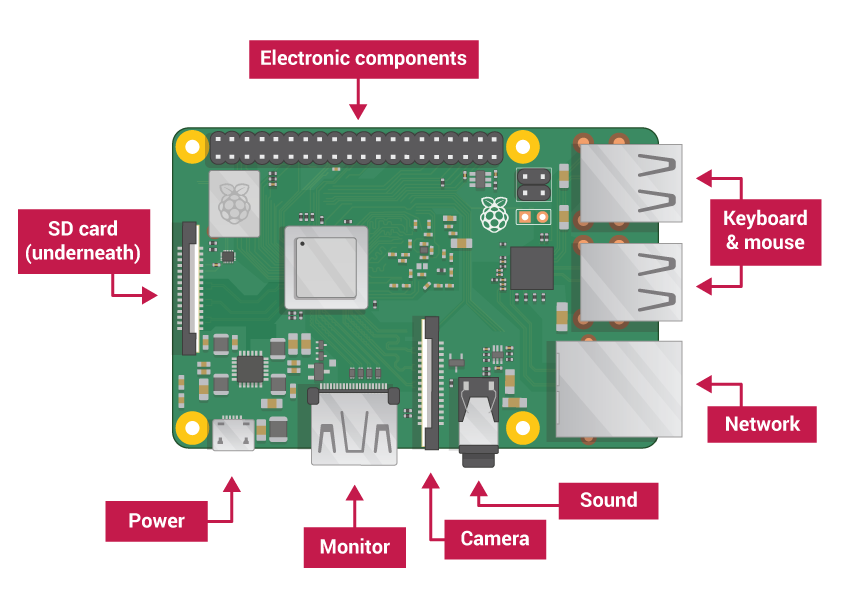
- 4 USB 2.0 ports
- 5V/2.5A DC power input
- Extended 40-pin GPIO header

For more details visit my another post on introduction raspberry Pi.
Now I will be showing how to set up the Raspberry pi and install the Operating system with step by step guide.
- Raspberry Pi board
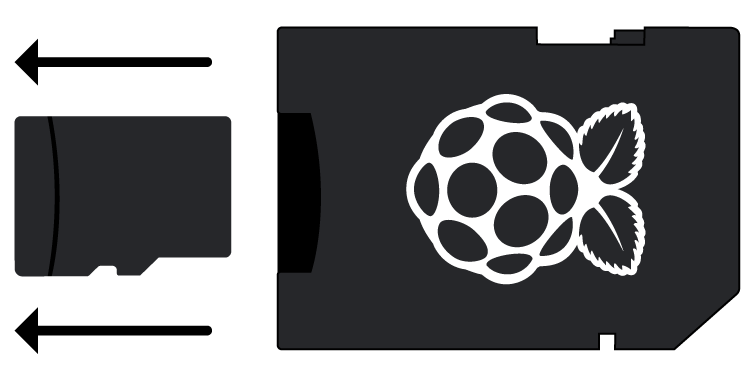
- A micro SD card (minimum 16 GB)
- A high-quality 2.5A micro USB power supply
- Lan cable for network access
Setup your SD card:
Before starting the Raspberry Pi you need to download the require Operating system which needs to be installed in Raspberry Pi. There is a number of distributions of the Operating Systems available for Raspberry Pi. Raspbian is the official operating system for all models of the Raspberry Pi.
You need to download the Raspbian operating system from below site:
1. Download the Rasbian Stretch with Desktop version as shown in below images.
Once you download the iso file save it to computer directory.
2. Installing the operating system image to SD card:
Once you download the required OS version you need to flash the image to SD card for the installation. this can be done using the Etcher software which will help in flashing the image file into SD card.
Download and install the Etcher from below link:
https://www.balena.io/etcher/

4. Open the Etcher Software select your inserted SD card, select the Downloaded Raspbian image and click the Flash
After finishing the running flash using Etcher we are good to go!
Connecting to Raspberry Pi:
- Connect the Desktop monitor to Raspberry Pi using HDMI cable.
- Connect the Mouse and Keyboard to your Raspberry Pi USB port.
- Put the image loaded SD card in the Raspberry Pi
- plug in a micro USB power supply to Raspberry pi power port.
since you have already installed Operating system into the memory card and set up you accessing devices you are ready to go for booting the raspberry pi.
Once plug the power on it will start boot up automatically and start the led blinking near power port.
Startup your Raspberry Pi:
Once plug the power on it will start boot up automatically and start the led blinking near power port.
Startup your Raspberry Pi:
After few second raspberry PI desktops will appear. since we have loaded the desktop version of a raspberry pi we will be able to see the complete operating system console on the monitor. now you can log in to raspberry pi with default configured username/password console login.
username: pi
password: raspberry
Once you successfully log in you are welcome to home raspberry pi desktop like your own personal computer.
Now you will able to access the raspberry pi like your desktop computer with Linux operating system. You can access the various application installed in raspberry pi, can start browsing the internet if you connected to the internet and also able to watch a video.
But since we need to connect the external devices like keyboard, mouse, and Monitor with HDMI card, carrying such all peripheral devices is very hectic and not much flexible approach.
Raspberry Pi also has an additional feature like connecting to Wifi network so that you can access the internet using wifi hotspot present near to raspberry pi. And also we can connect the raspberry pi using the SSH terminal (the application used to securely access network service from a remote place) once you are connected to any network in the home or worldwide internet.
If you don't have the HDMI and the external keyboard support to access the raspberry pi. Then we can set up the raspberry pi using the remotely using our wifi network.
What to Next:
There are below another blog to connect the raspberry pi without using Desktop or LAN cable.


No comments:
Post a Comment